


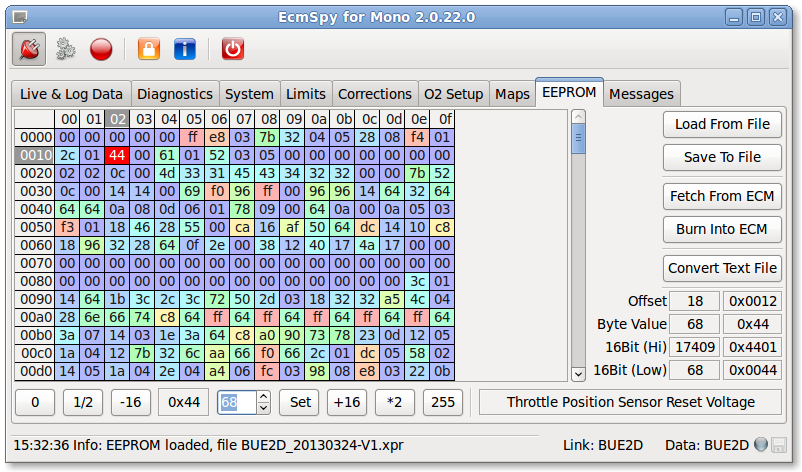
The EEPROM tab looks very similar to the maps tab. The largest area in these windows is the data area, where the EEPROM data will be shown, with editing buttons at the bottom. EEPROM copies can be loaded from and saved to a file and can also be fetched from or burnt into the ECM using the buttons at the right.
Click image for an unscaled view
Below the EEPROM data area several buttons for editing cell contents are shown.
Read and write EEPROM data
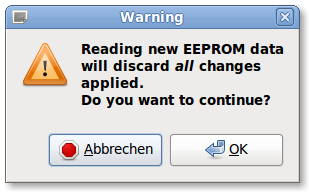
Using the buttons at the right side of the window, data can be loaded from or saved to a file, or EEPROM data can be fetched from or burnt into the ECM. If an EEPROM copy is already present in EcmSpy, a warning dialog will ask for confirmation to overwrite existing data:
Fetch EEPROM data
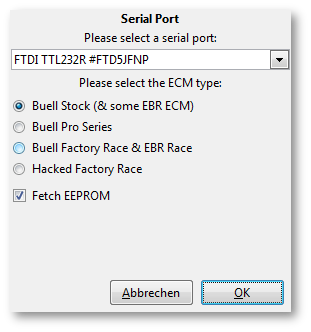
If the application is not connected to the ECM already, the connection setup dialog opens. Select the port that shall be used to connect tho the ECM and the ECM type.
Interfaces and COM portsThe interface drop-down menu shows all interfaces found on the PC. COM ports with a number higher than 9 (COM10, COM11, ...) will be shown, but can't be used, as Windows will show an error message. If a FTDI converter cable is connected to the PC, this cable's USB port will be shown additionally. Such ports start with "FTDI TTL232R", followed by the cable's serial number.
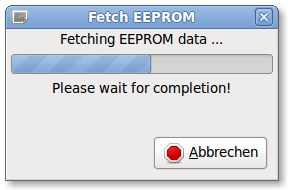
When the EEPROM copy is fetched after the connection has been set up, a progress bar will be shown:
If you try to connect to your bike's ECM and this ECM type is not known to the application, an error message like the one below will pop up and tell you the installed ECM type:
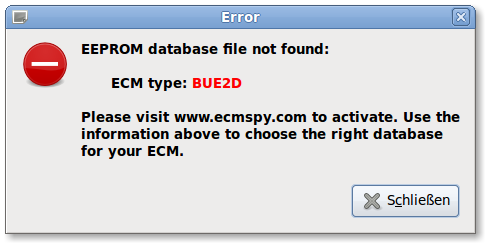
The ECM type shown in the message box should then also be missing in the list of supported ECM types, otherwise the installation of the EcmSpy software is incomplete. Please re-install the EcmSpy software in this case.
Burn EEPROM data
After the EEPROM copy had been fetched from an ECM, EcmSpy keeps a copy of the original data to compare with those, that shall be sent back to the ECM and calculates the number of different cells. A dialog asks, if the full EEPROM copy, or the changed cell only shall be burnt into the ECM. Every write-access to the ECM will be verifyed, as the same data are read again and compared to the reference value immediately. Large scale changes, as loading a different map, will slow down the burn process significantly.
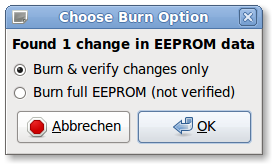
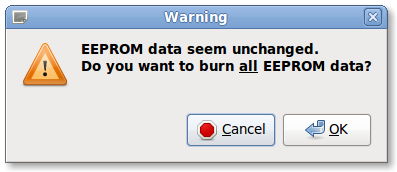
If no differenct cell were found, a confirmation is requested to overwrite the full EEPROM:
In case the EEPROM copy had been loaded from a data file, only full EEPROM data can be written, and no confirmation is required.
For better traceabilitiy of changes applied to EEPROM data, a new calibration string can be assigned before EEPROM data are burnt or saved. An entry dialog opens to enter a new calibration string.
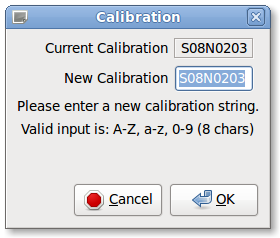
Clicking the "OK" button will store the new calibration string in the EEPROM copy that is written or burnt. The calibration string consists of 8 characters, made of upper and lower case letters and numbers. Invalid characters will be converted to a question mark.
Clicking the "Cancel" button terminates the burn or save operation.
Please note for DFFI-3: if the ECM seems to loose changes after switching off ingnition, one reason might be that the ECM's keep-alive power is not applied propperly. This can easily be caused by a blown ECM fuse.
DDFI-2 or erlier ECM will not show this behaviour.
Adjusting cell values
To edit a cell value, click on the cell to mark it for editing. The cell will then be displayed with a bright red background and it's value is copied into the edit field below the map or EEPROM data. There always the decimal value is shown, but for convenience the hexadecimal value is also displayed left of the editing field.
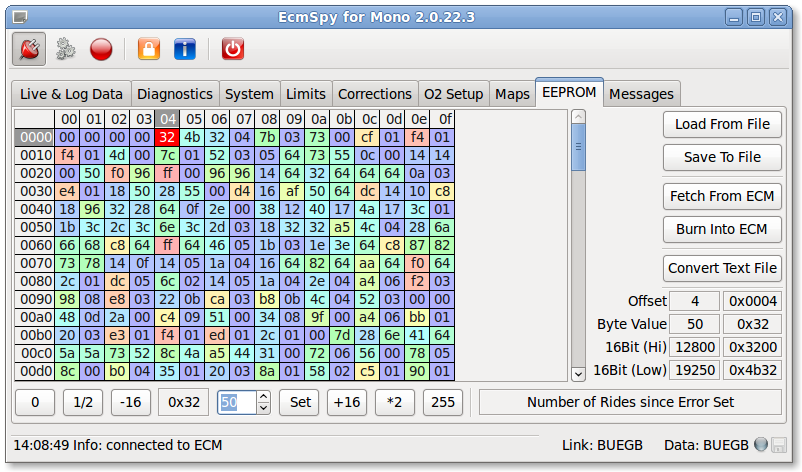
Click image for an unscaled view
By clicking on the arrow buttons or typing a new (decimal) number, the old value is changed. Furthermore some buttons are available for applying changes quickly and easily.

A new cell value will be applied by clicking the "Set" button, just aside the editing field on the right side. If the "Quick Burn" button is active, a message box pops up and once the new value is confirmed, it will be transfered to the ECM instantly. In addition the adjusted value will also be stored in the application's data copy.
Cell Info
Cell info for EEPROM cells consist fo two parts: one is an overview of offset and values, the other is the variable or table name.
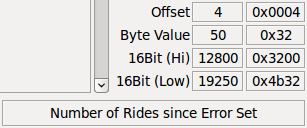
|
|