


With the advent of low-priced Bluetooth modems, it is now possible to connect to the ECM with EcmSpy wirelessly. Using this method, the cable is no longer needed, being replaced by a small Bluetooth modem at the DataLink connector and the Bluetooth capability of the PC or a PalmOS based PDA.
Making a Bluetooth modem is quite simple, especially since models are offered with a serial interface at TTL voltage level, as used by the ECM. Unfortunately the voltage supply at the DataLink connector is too high for these modules, but with a cheap voltage regulator (e.g. a IC 78L05) a power supply is built easily on a piece of veroboard. The Bluetooth modem itself is equipped with another 5 volts voltage convertor too. The voltage adaptor shown is the size of a postage stamp.
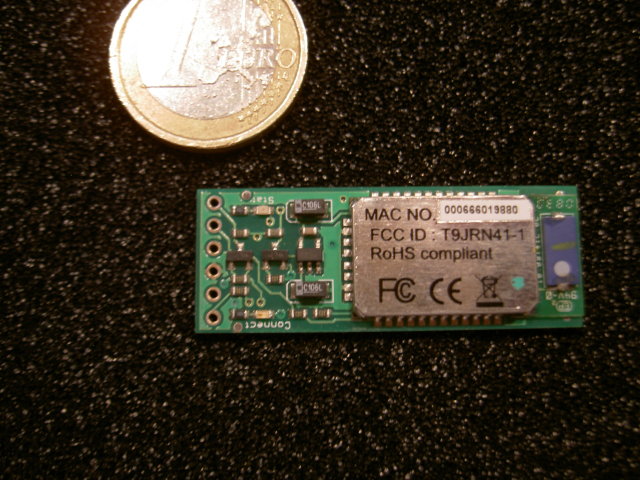
Click picture for an unscaled view
The Bluetooth modem is no bigger than a USB plug. The part shown on this page is a "BlueSMiRF" modem, sold by Sparkfun electronics, however there are other suppliers selling similar parts.
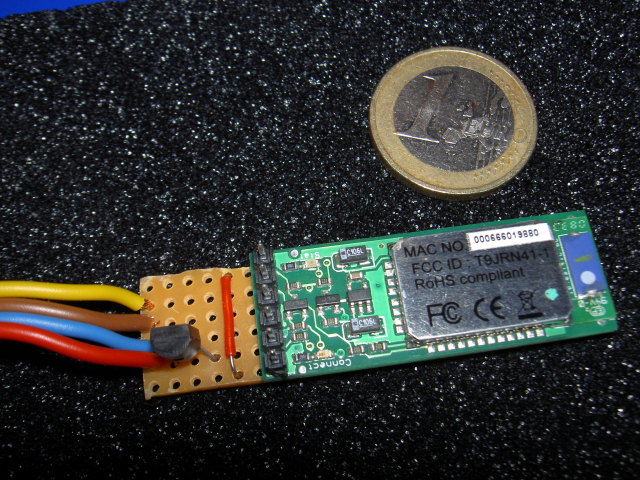
Click picture for an unscaled view
The Bluetooth modem now has the power supply attached, a bit of veroboard with a voltage regulator. The red wire across it links the CTS and RTS signals, because no flow control is required for this application. (Some Bluetooth modems need only a drop of solder applied to a small pad to connect these two lines.)
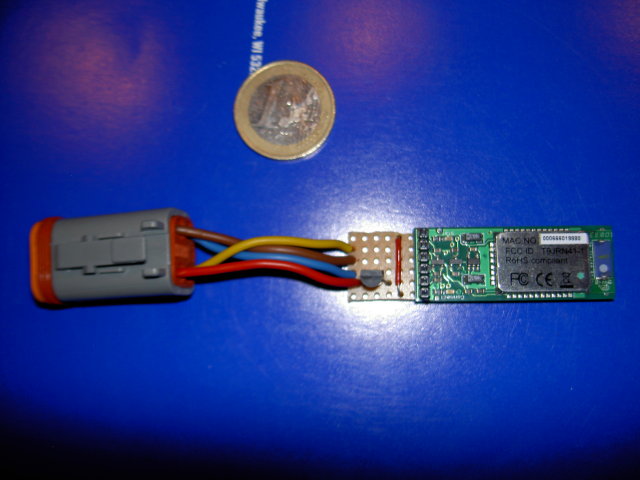
Click picture for an unscaled view
The Deutsch connector is added next to fit the diagnostic port of the ECM. In this picture the following wiring scheme is used:
At this point, it is better not to put the module in a box or housing, to keep the LED on the modem's board visible. I heatshrinked the Bluetooth modem into a piece of clear shrinkable tubing which will provide some protection. This material is meant for building battery packs and hardens after cooling.
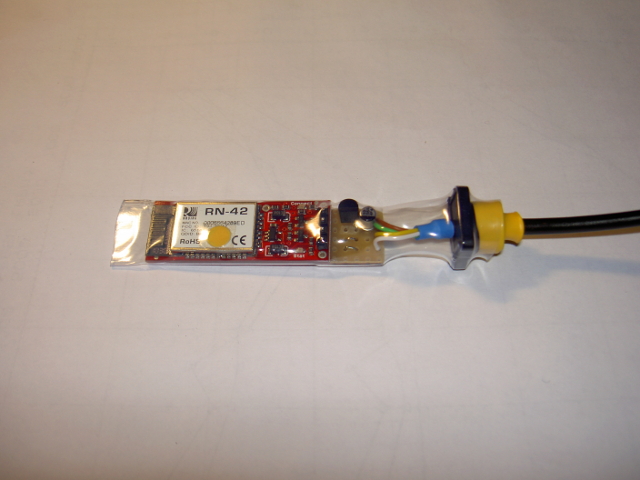
Click picture for an unscaled view
Some laptops come with a Bluetooth adapter already built-in, otherwise a USB Bluetooth dongle is needed. A Class 1 device (range up to 100 m/300 ft) is recommended. If necessary, the Bluetooth driver software has to be installed now, according to the manufacturer's instructions. PalmOS PDA with Bluetooth capability do not need any additional software.
Now plug the Bluetooth modem into the ECM's diagnostic port, switch on ignition and set the kill switch to "ON". The red LED on the Bluetooth modem's board should start blinking now, indicating power supply is available. Then let the PC or PDA scan for and connect to the Bluetooth modem. Some driver software will ask for a PIN code on the first connect, which is "1234" for the Sparkfun parts shown here. For other brands please consult the Bluetooth modem's user guide. When using a PDA, the Bluetooth modem can be added to the list of "trusted devices", for this the PIN is required too.
The last step requires to configure the Bluetooth modem to the correct baudrate, used for data transmission to the ECM. To do so, the PC or PDA needs to connect to the Bluetooth modem wirelessly and switch it into "command mode" within one minute after it has been powered up. Then the baudrate is set to 9600 baud for stock and P&A ECM or to 19200 baud for factory race ECM.
To enter commands for the Bluetooth modem a terminal emulation software is needed, as Hyperterm (included in Windows versions up to Windows XP) or Lynxterm for Windows Vista and later versions. Lynxterm seems easier to use and will run on Windows XP and earlier versions also. Users of PalmOS PDA have a choice of applications, but the only one (successfully) tested by now is pTelnet.
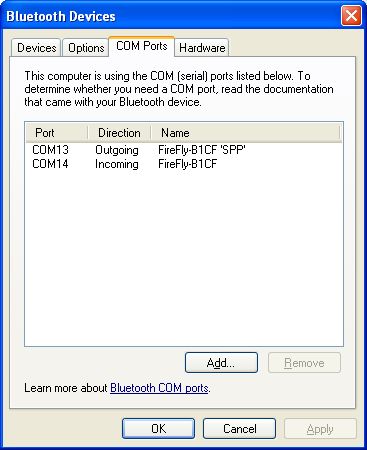
Open the "Bluetooth Devices" overview and click on the "COM Ports" tab to see the serial ports allocated to the Bluetooth device. The "Outgoing" port is what you need to know for connecting the terminal emulation to the Bluetooth modem.
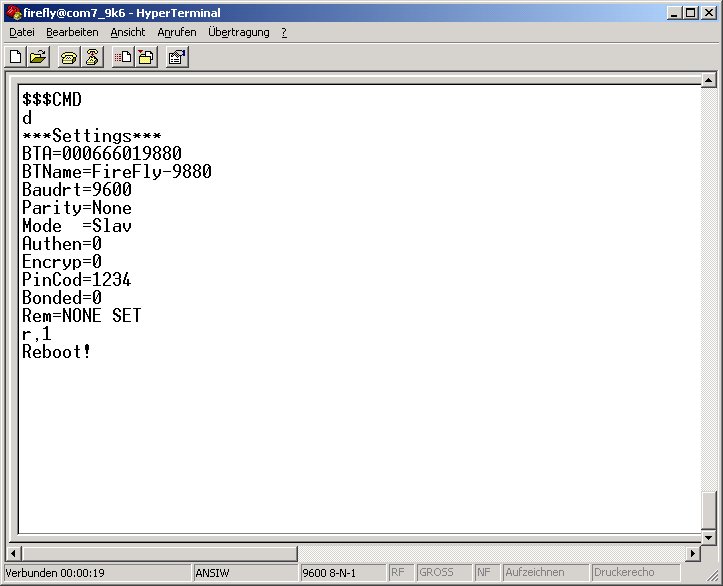
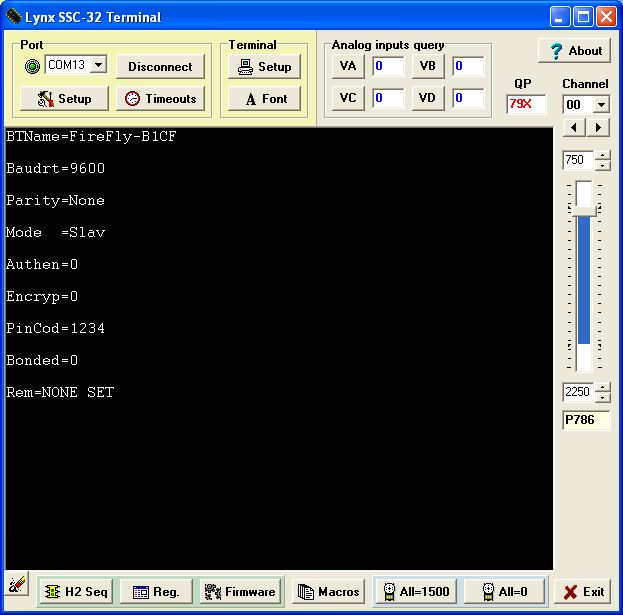
Then toggle ignition to power down the Bluetooth modem and power it up again. Within 60 seconds, connect to the modem using the terminal emulation (the green LED is lit now) and enter three "$" characters (no return required). The modem will instantly respond with a "CMD" output and is set into command mode now (the red LED flashing very rapidly), awaiting further input to change the baudrate to 9600 baud for stock ECM or 19200 baud for factory race ECM. The modem will not echo any input, so you might have to type all commands blindly (depending on the terminal emulation's settings), followed by "return". Command mode remains active until the Bluetooth modem is switched off or rebooted. After the baudrate has been adjusted to it's new value, it is also shown in the settings overview:
|
|
New Settings (Hyperterm) |
New Settings (Lynxterm) |
Click image for an unscaled view |
|
The full command sequence is shown below:
| Configure to 9600 baud (19200 baud) | ||
|---|---|---|
| Command | Request (sent) | Response (received) |
| Configuration Mode | $$$ | CMD |
| Display Setup | d [return] | ***Settings*** BTA=000666019880 BTName=FireFly-9880 Parity=None Mode =Slav Authen=0 Encryp=0 PinCod=1234 Bonded=0 Rem=NONE SET |
| Set linespeed to 9600 (19200) baud | su,9600 (su,19200) [return] | AOK |
| Display Setup | d [return] | ***Settings*** BTA=000666019880 BTName=FireFly-9880 Parity=None Mode =Slav Authen=0 Encryp=0 PinCod=1234 Bonded=0 Rem=NONE SET |
| Reboot | r,1 [return] | Reboot! |
At this point the configuration of the Bluetooth modem is done and it's now available for the EcmSpy software.